
Website analytics can help you track what areas of your website are receiving the most traffic. To set up tracking on your website you’ll want to set up a free account on Google Analytics. Once you’ve done that you can enter the information into the Beehive Analytics plugin through your site’s administrative dashboard. You’ll find the plugin in the left-hand menu.
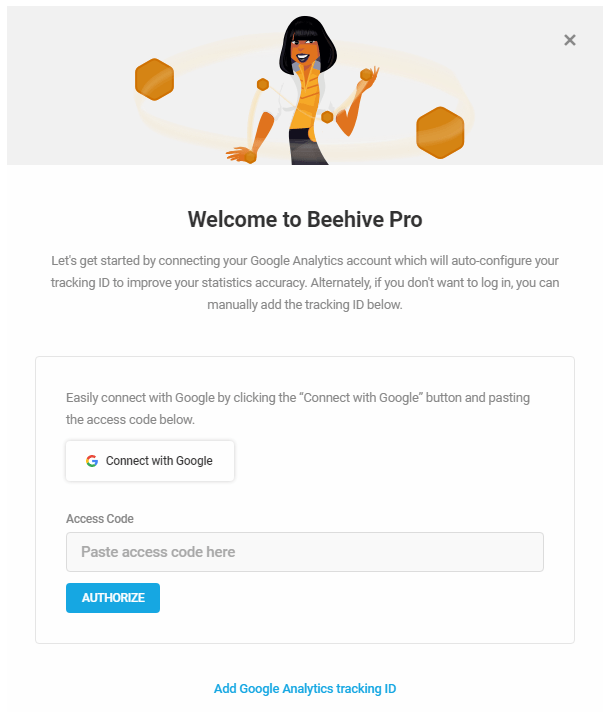
To set up Beehive, find the plugin on the left-hand menu. You’ll need to sign in with your Google account and then set up analytics.

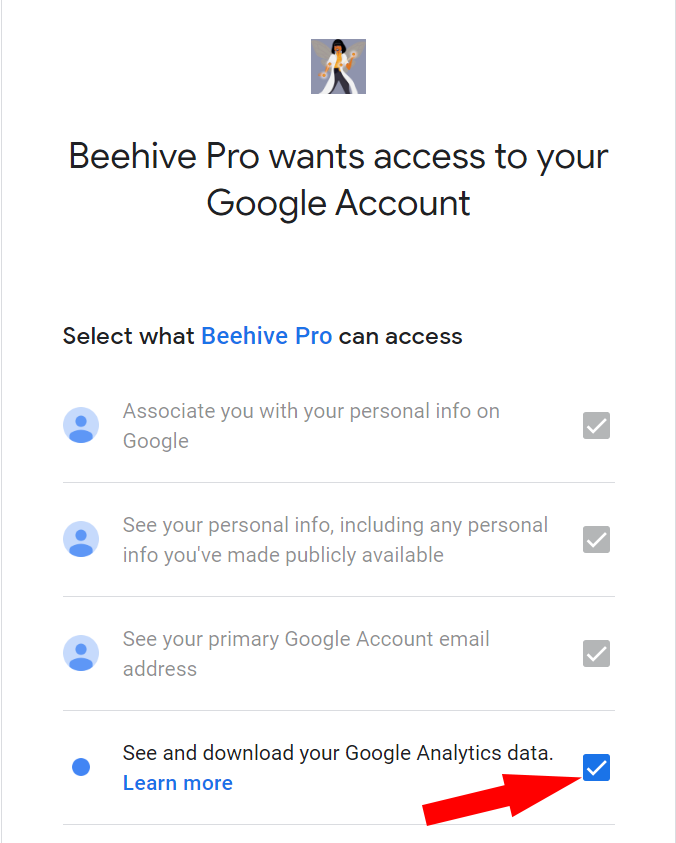
When signing in with Google you’ll need to make sure that the last checkbox is checked to be able to see the analytics in your WordPress dashboard [Note: The screen says “Beehive Pro,” but you are signing up for the free version].
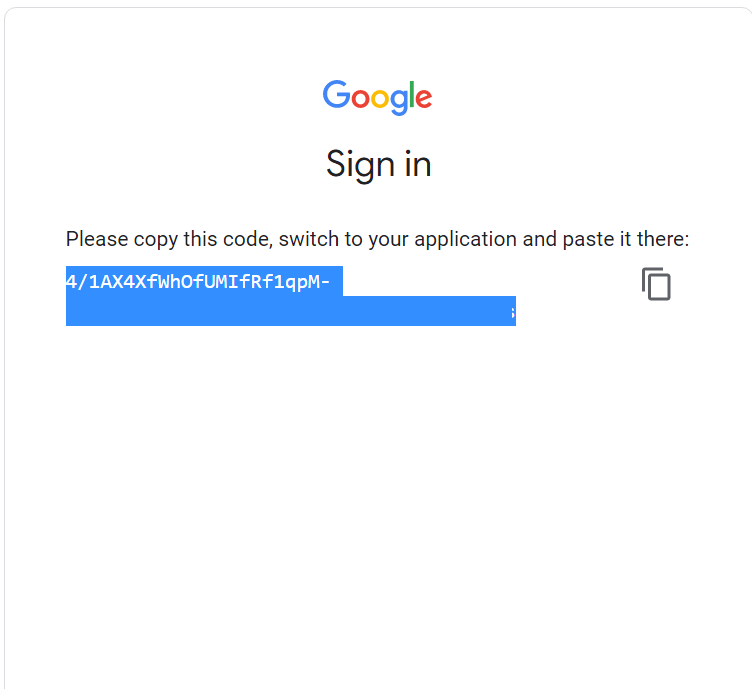
Then you’ll copy the code and paste it into the Beehive setup screen:
Once you’ve done that click on “Google Analytics” to see your data. If you have more than one site you’re tracking click on “Account” to choose the correct property. For more information, a “Quick Setup” guide can be found on the developer’s website: https://wpmudev.com/docs/wpmu-dev-plugins/beehive/.